Control Flow--if() and for()
Last updated on 2025-04-15 | Edit this page
Overview
Questions
- How can I get R to assess a situation and respond differently to different circumstances?
- How can I get R to repeat the same or similar operations instead of copy-pasting the same code over and over?
Objectives
- Recognize when and how to make the COMPUTER do your tedious, complex, and repetitive data tasks.
- Practice indexing and logical tests in the context of solving a frustrating data management problem.
- Demystify the structure and syntax of the dreaded “for loop.”
Intro
In this unit, we’re going to start by creating a fake and annoying data management problem that we will then get to solve easily using two powerful programming tools. Let’s create that annoying problem first.
The basic idea is that we will need to find and respond to a complex pattern in our data–something we need to do all the time when working with real data sets! So, we’ll need to generate some complex data first, which we will do using random sampling.
However, because it would be nice if we all had the same random data to work with (so we all get the same answers!), we can first use a little “cheat code.” In R, you can make random things “predictably random” by first setting a specific seed for R’s random number generator to use. Doing so will ensure we all get the same “answers,” so don’t skip this step!
R
set.seed(123) #Ensures that all random processes will "start from the same place."
Next, let’s begin by making a giant random vector full of
values. To do this, we can use the sample() function. Here,
we’ll provide sample() with three inputs: an
x, a size, and a replace. See if
you can guess what each input does!
R
rand_vec1 = sample(
  x = c(0,1),
  size = 10000,
  replace = TRUE)
We can see the first 100 values of rand_vec1 by using
indexing.
R
rand_vec1[1:100] #Extract values 1 thru 100.
OUTPUT
  [1] 0 0 0 1 0 1 1 1 0 0 1 1 1 0 1 0 1 0 0 0 0 1 0 0 0 0 1 1 0 1 0 1 0 1 1 0 0
 [38] 0 0 1 0 1 1 0 0 0 0 1 0 0 1 0 0 0 0 1 1 0 1 0 0 1 1 0 0 1 0 0 0 0 1 0 0 0
 [75] 0 1 1 0 1 1 1 1 0 1 1 1 0 0 1 0 1 1 0 1 1 0 0 1 0 0
Here, we see that we drew randomly from the values 0 and 1
(x is the “pool” of values we draw from) 10,000 times
(size is the number of draws to do) with replacement
(replace = TRUE).
Let’s do the exact same thing again to create a second vector,
rand_vec2, that will be randomly different from the first
one we made.
R
rand_vec2 = sample(
  x = c(0,1),
  size = 10000,
  replace = TRUE)
We’ll then create a data frame (table) with these two random
vectors as columns, which we’ll call a and b
for simplicity.
R
dataset1 = data.frame(a = rand_vec1,
                      b = rand_vec2)
Establishing our problem
Ok, now that we’ve created our “fake, random data set,” let me explain the annoying data problem involving it that we’ll need to solve.
We have two columns, a and b. Imagine that,
for our analyses, we need to create a new, third column, c,
that equals 0 except whenever the current value in column
a is equal to 1 and ALSO the previous
value in column b is also equal to 1. All
other times, c should equal 0 though.
For example, in the sample table below, the value of c
in row 2 would be 1 (column a’s second value is 1 and
column b’s first value is also 1) but 0 in row 3 (because
a’s value is 0) and row 4 (because b’s
previous value is 0):
OUTPUT
  a b
1 0 1
2 1 1
3 0 0
4 1 1
What an annoying pattern to have to spot, right? Finding patterns like these is something we often have to do when analyzing real-world data. Imagine trying to hunt for this pattern by eye, perhaps in Microsoft Excel, by going row by row. It’d be torture, it’d take forever, and we’d probably make a lot of mistakes.
Instead, we can “teach” R how to find this pattern for us! To do
that, though, we need to harness two powerful functions that control how
R “goes with the flow” and makes “decisions”: if() and
for().
If statements
We’ll start with if() because it’s the simpler of the
two functions to learn. Even still, if you are not an experienced
programmer, if() will probably feel very “programming-y” to
you at first.
The good news is that you have probably experienced an “if statement” in your real life! For example:
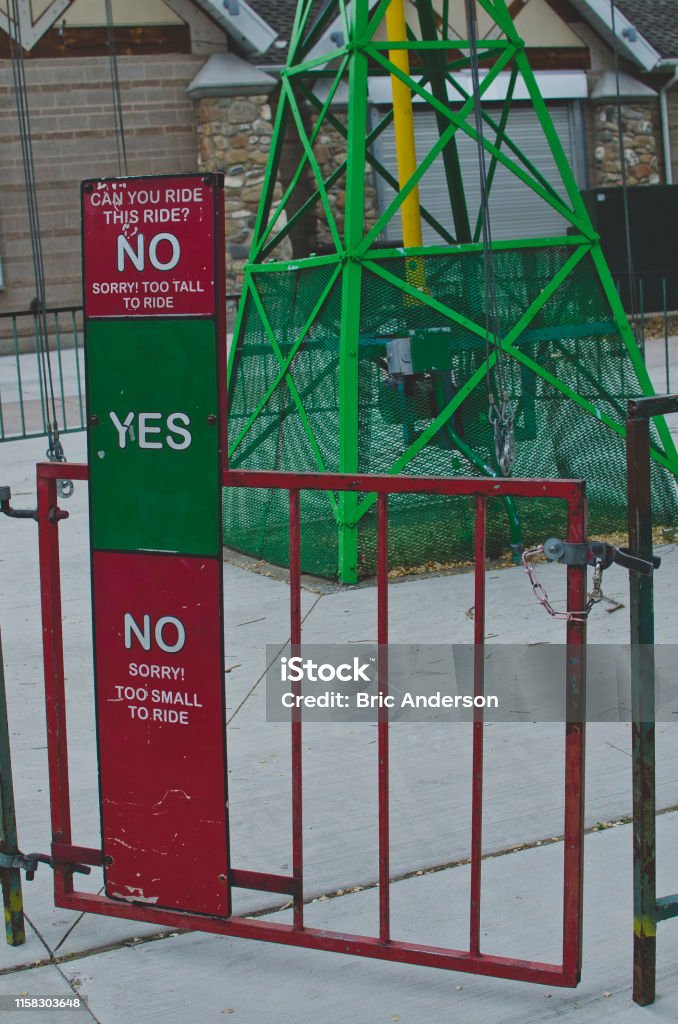
In life, we often encounter “rules.” If we pass or satisfy the rule, we get to do stuff (like ride a roller coaster) and, if we don’t pass or satisfy the rule, we have to do nothing.
if() works the exact same way! We provide it a “rule” as
an input and then also “stuff” (code) that will execute if and only if
that “rule” passes.
To see what I mean, let’s create an object called x and
set its value to a known value of 10.
R
x = 10
Now, let’s write an if() statement involving
x. In if()’s parentheses, we provide a
logical test, which consists of an object who’s value we will
check (here, that’s x), a logical operator (I’ll
use < or “less than” below), and a “benchmark” to check
that value against (below, I use the value 20).
Then, in if()’s curly braces, we put code that
should only execute if the logical test passes.
Putting all this together in the example below, I check to see if the
value of x is less than 20, which we know that
it is, so the code in the curly braces will run.
R
if(x < 20) {
  print("Yes")
}
OUTPUT
[1] "Yes"What happens if the logical test fails instead? To see,
change the logical operator to “greater than”
(>) instead. What do you get, and why?
R
if(x > 20) {
  print("Yes")
}
Challenge
As we’ve used it so far, if() only gets R to do
something if the logical test we’ve provided passes. What if
you wanted to do something either way (whether the test passes or
fails)–what could you do in this situation?
Your first temptation might be to put multiple if()s in
a row to catch all possible outcomes, such as by using the two
if() calls we’ve already written back to back to catch when
x is greater than 20 and when it’s less than 20. This
works, but if there are only two possible outcomes, there’s an easier
way…
If/else statements
if() has a companion function, else, that
you can pair it with so that something happens when the logical
test passes and something different happens when the
logical test fails. Here’s what this looks like:
R
if(x > 20) {
  print("Yes")
} else {
  print("No")
}
OUTPUT
[1] "No"In the example above, "No" gets printed. Why? Well, the
logical test failed, so R skipped over the operations given to
if() and instead executed the operations given to
else.
Notice that else gets curly braces but not
parentheses. Why? Remember that logical tests must be
mutally exclusive, meaning they are either
TRUE (they pass) or FALSE (they fail). A
single logical test can yield either outcome, so the one
logical test we give to if() can serve as the
necessary input for both if() and else.
Callout
Important: This means that an else is
fundamentally dependent on the if() it goes with.
As a result, an else must always start on the same line as
its if() ends on. For example, the code below would trigger
an error:
This is an example of how line breaks do occasionally matter in R.
For simplicity, we won’t show it here, but if you had a situation
where there were more than 2 possible outcomes and you wanted to do
something different in each one, you can stack if()s and
elses inside of each other to create as complex a “decision
tree” as you need to!
Challenge
How does knowing if() help us solve our annoying data
problem involving columns a through c that we
set up earlier, do you think?
Recall that we want the value in column c to be equal to
1 only if two specific conditions are met. So, we
can’t even talk about our data problem without using the word “if.”
That’s not an accident–if() will help us ensure that we do
the right thing whenever those conditions are met and something
else if they aren’t.
Challenge
Let’s practice trying to use if() and else
to start solving our data problem by using them to check to see what the
correct value for column c should be in row 2 of our data
set.
Write an if/else pair that checks if the SECOND value in
column a is equal to 1 (use == as
the logical operator to check for equality!) and the
FIRST value in column b is also equal to
1.
Inside your curly braces, make an object called
c and set its value to 1 if both conditions
are met and to 0 if not.
Hint: You can put two FULL logical rules inside of
if()’s parentheses and separate them with an
& (“and”) if you want if() to check
against two rules instead of just one.
Here’s what this could look like:
R
if(dataset1$a[2] == 1 &
   dataset1$b[1] == 1 ) {
  c = 1
} else {
  c = 0
}
What happens when we run the code above–what does c
become? Let’s check:
R
print(c)
OUTPUT
[1] 0It became 0. Is that what should have happened? Let’s
look at the first two rows of our data set to confirm that our code did
what we wanted it to do:
R
dataset1[1:2, ] #Rows 1 and 2, all columns
OUTPUT
  a b
1 0 0
2 0 1
Yes, 0 is the right value because both
conditions we were checking against were FALSE in this
case.
Nice! We can now have R perform this kind of check for us and it will do it flawlessly every single time, unlike us humans who might mess it up sometimes!
For loops to repeat operations
If you did the challenge above (at least view the answer before
continuing!), you saw that we can use if() and
else to check whether row 2 in our data set passes both of
our conditions for when to put a 1 in column
c.
…Now, we’d just need to do this same check for the 9998 remaining rows, right? Get ready to copy-paste a lot of code!
…No, I’m just kidding! Let’s definitely not do it
that way. Instead, we should just get R to repeat this
check the rest of the times we need to do it. Fortunately, repeating
tasks is exactly what the for() function is for.
Again, if you don’t have a programming background, for()
will probably look very “programming-y” to you. However, once again, the
good news is that you have probably experienced a “real-life for loop”
at least once! For example:
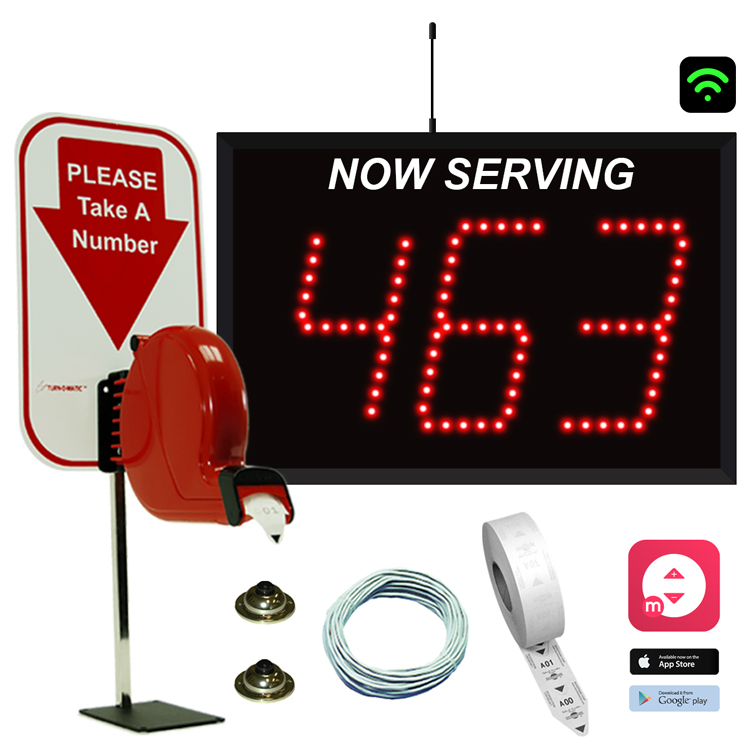
If you’ve been to a deli counter that uses a ticket system like the one above, you probably already know how the system works:
Everyone who wants some meat or cheese takes a ticket with a unique number on it.
The worker behind the counter calls out the number of the next ticket, putting that number up on a display board so everyone can see which ticket we’re on.
The customer with that ticket number comes up to the counter and places their order.
The worker then processes that order in roughly the same way every time (gets the selection out, cuts it, places the slices in a baggie, cleans the slicer, etc.).
Then, the process repeats for the next customer and ticket number
until all the tickets are gone. This process of repeating the same set
of operations over and over again (even if the specifics actually change
somewhat each time!) all while keeping track of which “repeat” we’re on
is exactly how for() works too!
Let’s write out a “fake” for() call so we can see the
basic parts and how they match up with the story I just told:
for(current_ticket in pool_of_ticket_values) {
–code for R to repeat for every ticket–
}
Inside the parentheses above, we first have an object holding the
“current ticket number” that we’re on called
current_ticket. That object is exactly like the digital
“Now serving ticket #X” sign in our deli counter example.
Then, we have a connector function called in, which we
can safely ignore (as long as we don’t forget to include it!).
Then, we have another object called
pool_of_ticket_values that holds all possible ticket values
we will need to go through, one by one, until we are “done” serving our
customers.
Then, just as with if(), for() has
curly braces. Inside these, we have code that will run, from
top to bottom, the same exact way for each ticket value we draw from our
pool. In our story, these are the steps the worker goes through for each
customer. Each customer might want slightly different things, so the
“inputs” for these operations may change, but what gets done and when is
roughly the same every time.
Said differently, each time the operations inside the curly
braces begin, current_ticket will first become equal
to the next available value in the pool_of_ticket_values.
Then, all the operations inside the curly braces will run once
from top to bottom. That process will then repeat (or “loop”) until the
ticket pool is empty and there are no more new values to set
current_ticket equal to.
We can demonstrate this order of events using a working (albeit dumb) example for loop:
R
for(ticket in 1:10) {
  print(
    paste0("Now serving ticket number: ",
           ticket)
   )
  }
OUTPUT
[1] "Now serving ticket number: 1"
[1] "Now serving ticket number: 2"
[1] "Now serving ticket number: 3"
[1] "Now serving ticket number: 4"
[1] "Now serving ticket number: 5"
[1] "Now serving ticket number: 6"
[1] "Now serving ticket number: 7"
[1] "Now serving ticket number: 8"
[1] "Now serving ticket number: 9"
[1] "Now serving ticket number: 10"
What’s going on here? R is printing the message “Now serving ticket number: X” 10 times, with X changing each time. How did this happen?
R starts to execute this code by first taking the first value in our
pool (which here is 1), and makes ticket equal
to that value. It then executes the code in the curly braces,
which tells it to print a message.
However, specifically, we’ve asked it to use the current value of
ticket inside our message, like we’re having it read off
the “digital display board” to adjust its behavior depending on what
ticket we’re currently on. The fact that we can use
ticket inside our operations to “do work” is
important!
The process then repeats until our pool is empty, which in this case
happens after we’ve used the last value in our pool, which is
10 here.
Challenge
How does knowing for() help us solve our annoying data
challenge, do you think?
To fill out all 10,000 rows of our c column, we need to
do the same check for each row. Again, we can’t even discuss
our problem without using the word “for.” That’s not an accident! We can
use for() to repeat the check for every row and respond
accordingly even as the exact “inputs” change from one row to the
next.
Solving our annoying data challenge
We’re nearly ready to solve our frustrating data management challenge, but we just need to do a couple of preparation steps first.
Since we’re going to need a c column in our data set but
there isn’t one yet, let’s make one and fill it with NA
values to start with (since we don’t yet know what those values should
be).
R
dataset1$c = NA
The above command adds a new column called c to our data
set (if our data set already had a column called c, it
would replace that column instead). It then fills that column with
NA.
This step is called “pre-allocating.” We’re preparing a space for all
the new values we’re about to place in that c column! It’s
not strictly necessary to pre-allocate space for new stuff you want to
create using a for loop, but for loops can get
really slow if you don’t do it!
We can now build our for loop! To start, we have to pick a
name for our “current ticket” object because, as we saw in our earlier
example, it can be called whatever we want. I prefer names that have
meaning in the context of what I’m trying to accomplish. Here, because
we are repeating operations for each new row we want to
check, I will helpfully name this object current_row.
Then, I place in and then I need a pool of values that
will ensure the loop repeats the proper number of times. Because our
data set is 10,000 rows long, because we want to perform our check for
every row, and because the first row can never pass our tests
(there is no previous value for column b for row 1), we can
make our pool of the values ranging from 2 up to
10000.
R
for(current_row in 2:10000) {
  #Operations will go here...
}
Inside the curly braces, I now just need to tell R to check
the appropriate values in columns a and b and
set the appropriate values in column c accordingly.
We already wrote more or less the code needed to perform this check in an earlier challenge:
R
if(dataset1$a[2] == 1 &
   dataset2$b[1] == 1 ) {
  c = 1
} else {
  c = 0
}
The only problem is that the above code only works to check the 2nd
row of column a and the 1st row of column b.
In other words, it’s too specific–we’ll need it to be more generic here
so that it can work for whatever row of our data set we’re currently
on.
Here’s where we can take advantage of the current_row
object:
R
if(dataset1$a[current_row] == 1 &
   dataset1$b[current_row-1] == 1 ) {
     dataset1$c[current_row] = 1
} else {
     dataset1$c[current_row] = 0
}
Now, we’re telling R “whatever the current row is,
check the appropriate values and set the value of c in that
row accordingly.” As R works through the pool of values in
2:10000, current_row will become those values,
one at a time, so it will start out being 2, then
3, and so on. So, we can use that to point R to a new row
each time through the loop!
Callout
Notice we can also do math inside square brackets to access
the previous value in column b–that’s a handy
trick!
If we put all this together, this is our final for loop:
R
for(current_row in 2:10000) {
  if(dataset1$a[current_row] == 1 &
   dataset1$b[current_row-1] == 1 ) {
     dataset1$c[current_row] = 1
} else {
     dataset1$c[current_row] = 0
 }
}
And now, the all-important question: Did it work? Let’s examine the
first 20 rows–see if you can determine whether column c
looks as it should or not:
R
dataset1[1:20,]
OUTPUT
   a b  c
1  0 0 NA
2  0 1  0
3  0 0  0
4  1 1  0
5  0 1  0
6  1 1  1
7  1 0  1
8  1 1  0
9  0 1  0
10 0 0  0
11 1 0  0
12 1 0  0
13 1 1  0
14 0 1  0
15 1 1  1
16 0 0  0
17 1 1  0
18 0 1  0
19 0 0  0
20 0 0  0
The short answer: Yes, it does! This means we just had R do literally hours of torturous work in just seconds, flawlessly, with just eight lines of code! You’ll never have to do something like this in Excel “by eye” ever again!
Challenge
Add a fourth column, d, to our data set. Set
d equal to 1 whenever the current value of
either column a or column
b is 0 and make d equal to
0 all other times. Hint: If you want to check to see if one
logical test or another passes, use
| (“or”) instead of & (“and”) to connect
the two tests.
Here’s one valid way to do this, though there are others! Don’t
forget to preallocate column d first!
R
dataset1$d = NA

for(current_row in 1:10000) { #We can check row 1 here if we want to!
  if(dataset1$a[current_row] == 0 | #Note the use of the or operator, |.
     dataset1$b[current_row] == 0 ) { #No need to use math in the square brackets this time.
     dataset1$d[current_row] = 1
} else {
     dataset1$d[current_row] = 0
 }
}
Key Points
- Use
ifandelseto have R make choices on the fly for you with respect to what operations it should do. - Use
forto repeat operations many times.